How to do a two-color 3D print on the same layer with only one nozzle, using PrusaSlicer
Note: This has only been tested on a Prusa Mini+ with PLA, up to you to adapt if necessary.
To be explicit: I'm not talking about the easy multi-color printing by changing a filament on the start of a layer, but how to do multiple colors on the same layer.
If you want to use this simple method, just slide the layer cursor to the right layer, then click the "+" cursor. You can do this multiple time if needed. That's all!
But in this tutorial, I will explain how to print multiple colors on the very same layer for multiple layers. How, incredible!
Tbh it's very much a hacky thing, but it works very well. ^w^
Multi-part model
The first thing to do is modelize your part with a sub-part for each color. You will understand quickly why.
It can be difficult to do so, depending on your modeling skills or your CAD software, so I can't easilly explain here.
The mysterious hacky thing
In PrusaSlicer, activate the "Expert Mode" (the setting is in the top right of the software) if it's not already done.
You can revert this after your print, don't worry.
Now, go to the "Printers" menu select the right printer if necessary and add a temporary extruder.
Hint: You don't have to save this configuration, btw, just edit the config without clicking on the "Save presset" floddy-disk icon.
You can change the "Extruder Color" in the "Extruder 2" menu if you want the model display in the slicer to be easier to read (different color for the second "virtual nozzle") but it's not mandatory.
Now, click the "Custom G-code" menu under the same "Printers" menu and add the following code in the "Tool change G-code" field:
; change filament code (multicolor hack)
{if extruded_volume_total > 0 then
"M600";
endif}
(This part is important: it adds the color change trigger when needed!)
Note: You don't have to save this config to do the print, but if you want to reuse it in the future, you can save it as a neww user preset.
Hint: For better visual results, I advise you to set "Only one perimeter on first layer" (under the "Layers and perimeters" settings) is visible on the part that is in contact with the printing bed.
Extruder assignement
Return to the "Plater" view.
If not already done, import your multi-part model.
⚠️ The slicer may ask you if it should load the file "as a single object having multiple parts": just say yes. Otherwise The parts will be displaced to touch the bed, that's not what wwe ant to do.
Now, left-click on a sub-part and choose "Change extruder" then "Extruder 2". Repeat for each sub-part.
If you have changed the color of the Extruder 2, your model should show 2 colors.
You can now slice your model.
Print!
The printer should pause the print each time the filament have to be changed.
Since you have to do this by hand, keep it mind that it's not realistic to do a multiple color print ith many colors (this tuto is written for two colors, but in fact you can do it with more, but it's annoying as fuck...) and for many layers.
I needed this wweird technique for a unique print who required 2 colors on a same layer for only a bunch of layers (8 layers, precisely), so it was doable.
For complicated prints, maybe you can deal with them by printing the sub-parts individually with the color of your will, then glue them together using some cyanoacrylate or epoxy.
When you're going to close PrusaSlicer, you can simply discard all changes.
Pictures!
Eh, as a proof of concept:
The sliced model:

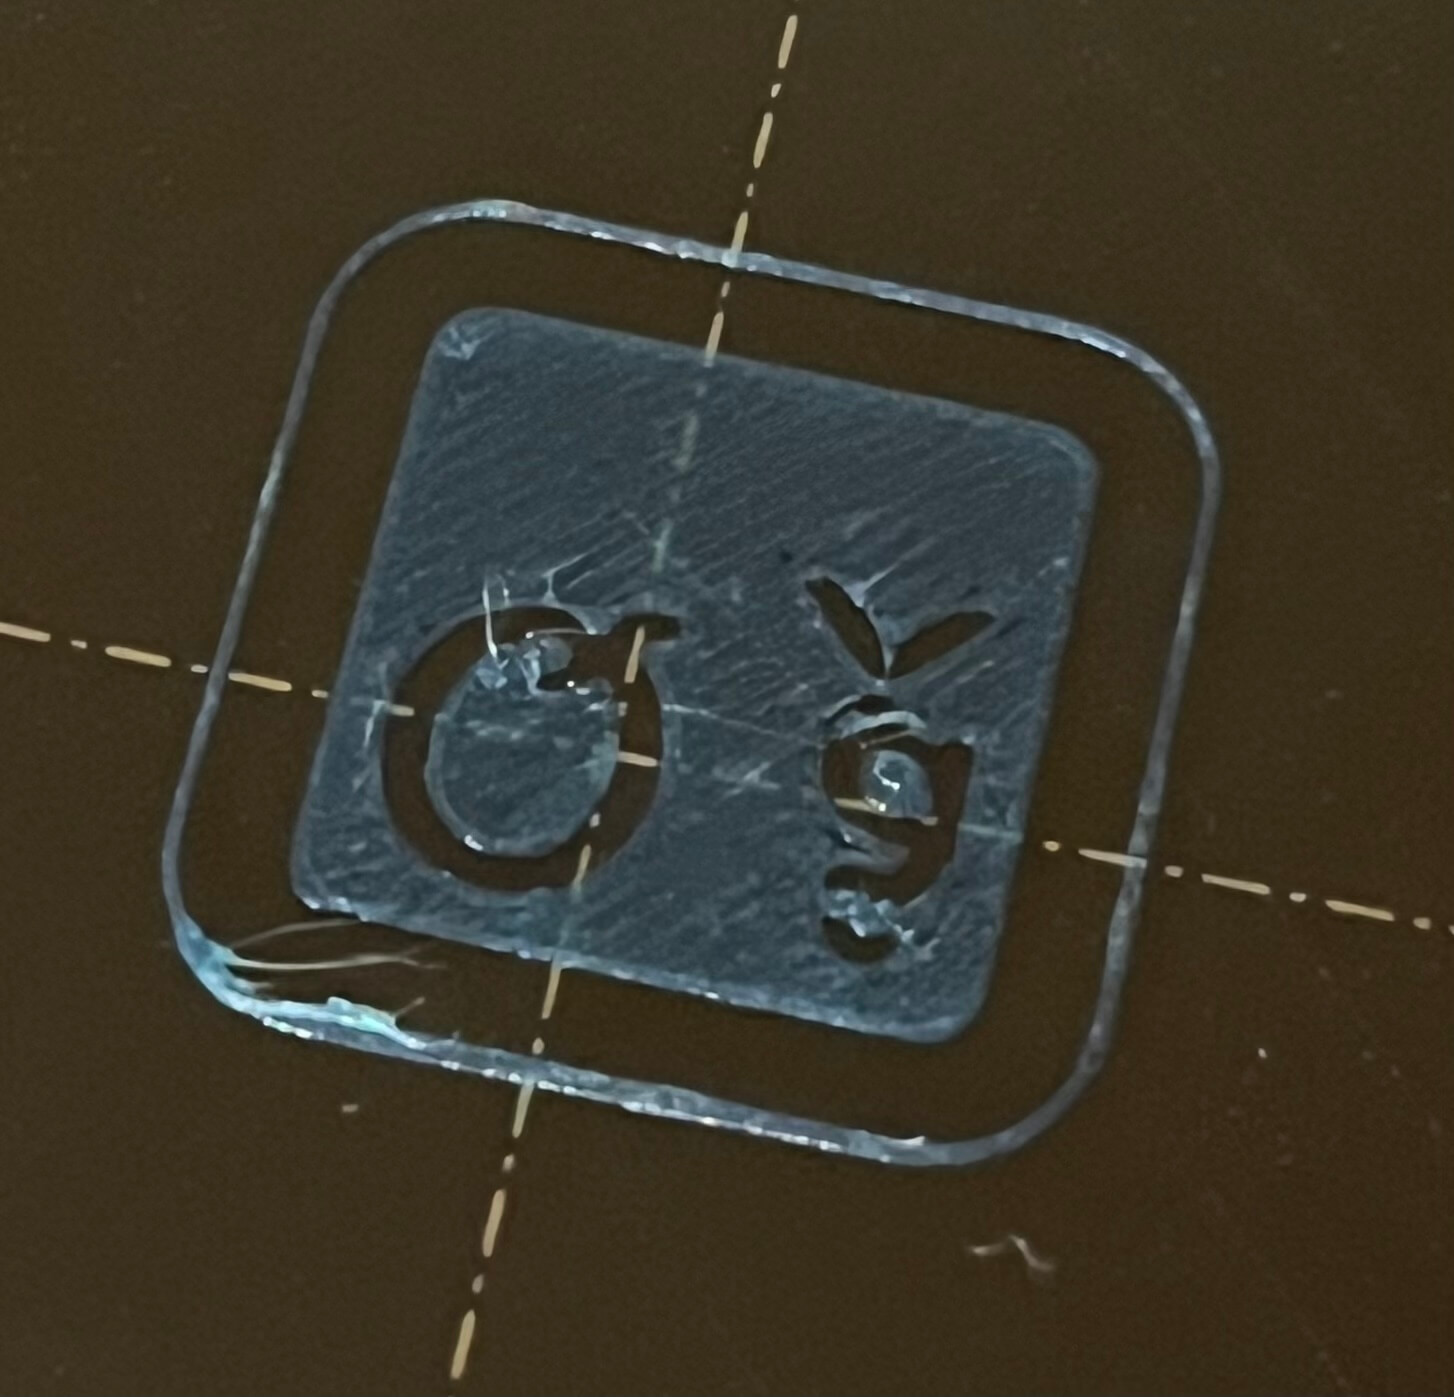
The printed part just before the color change:
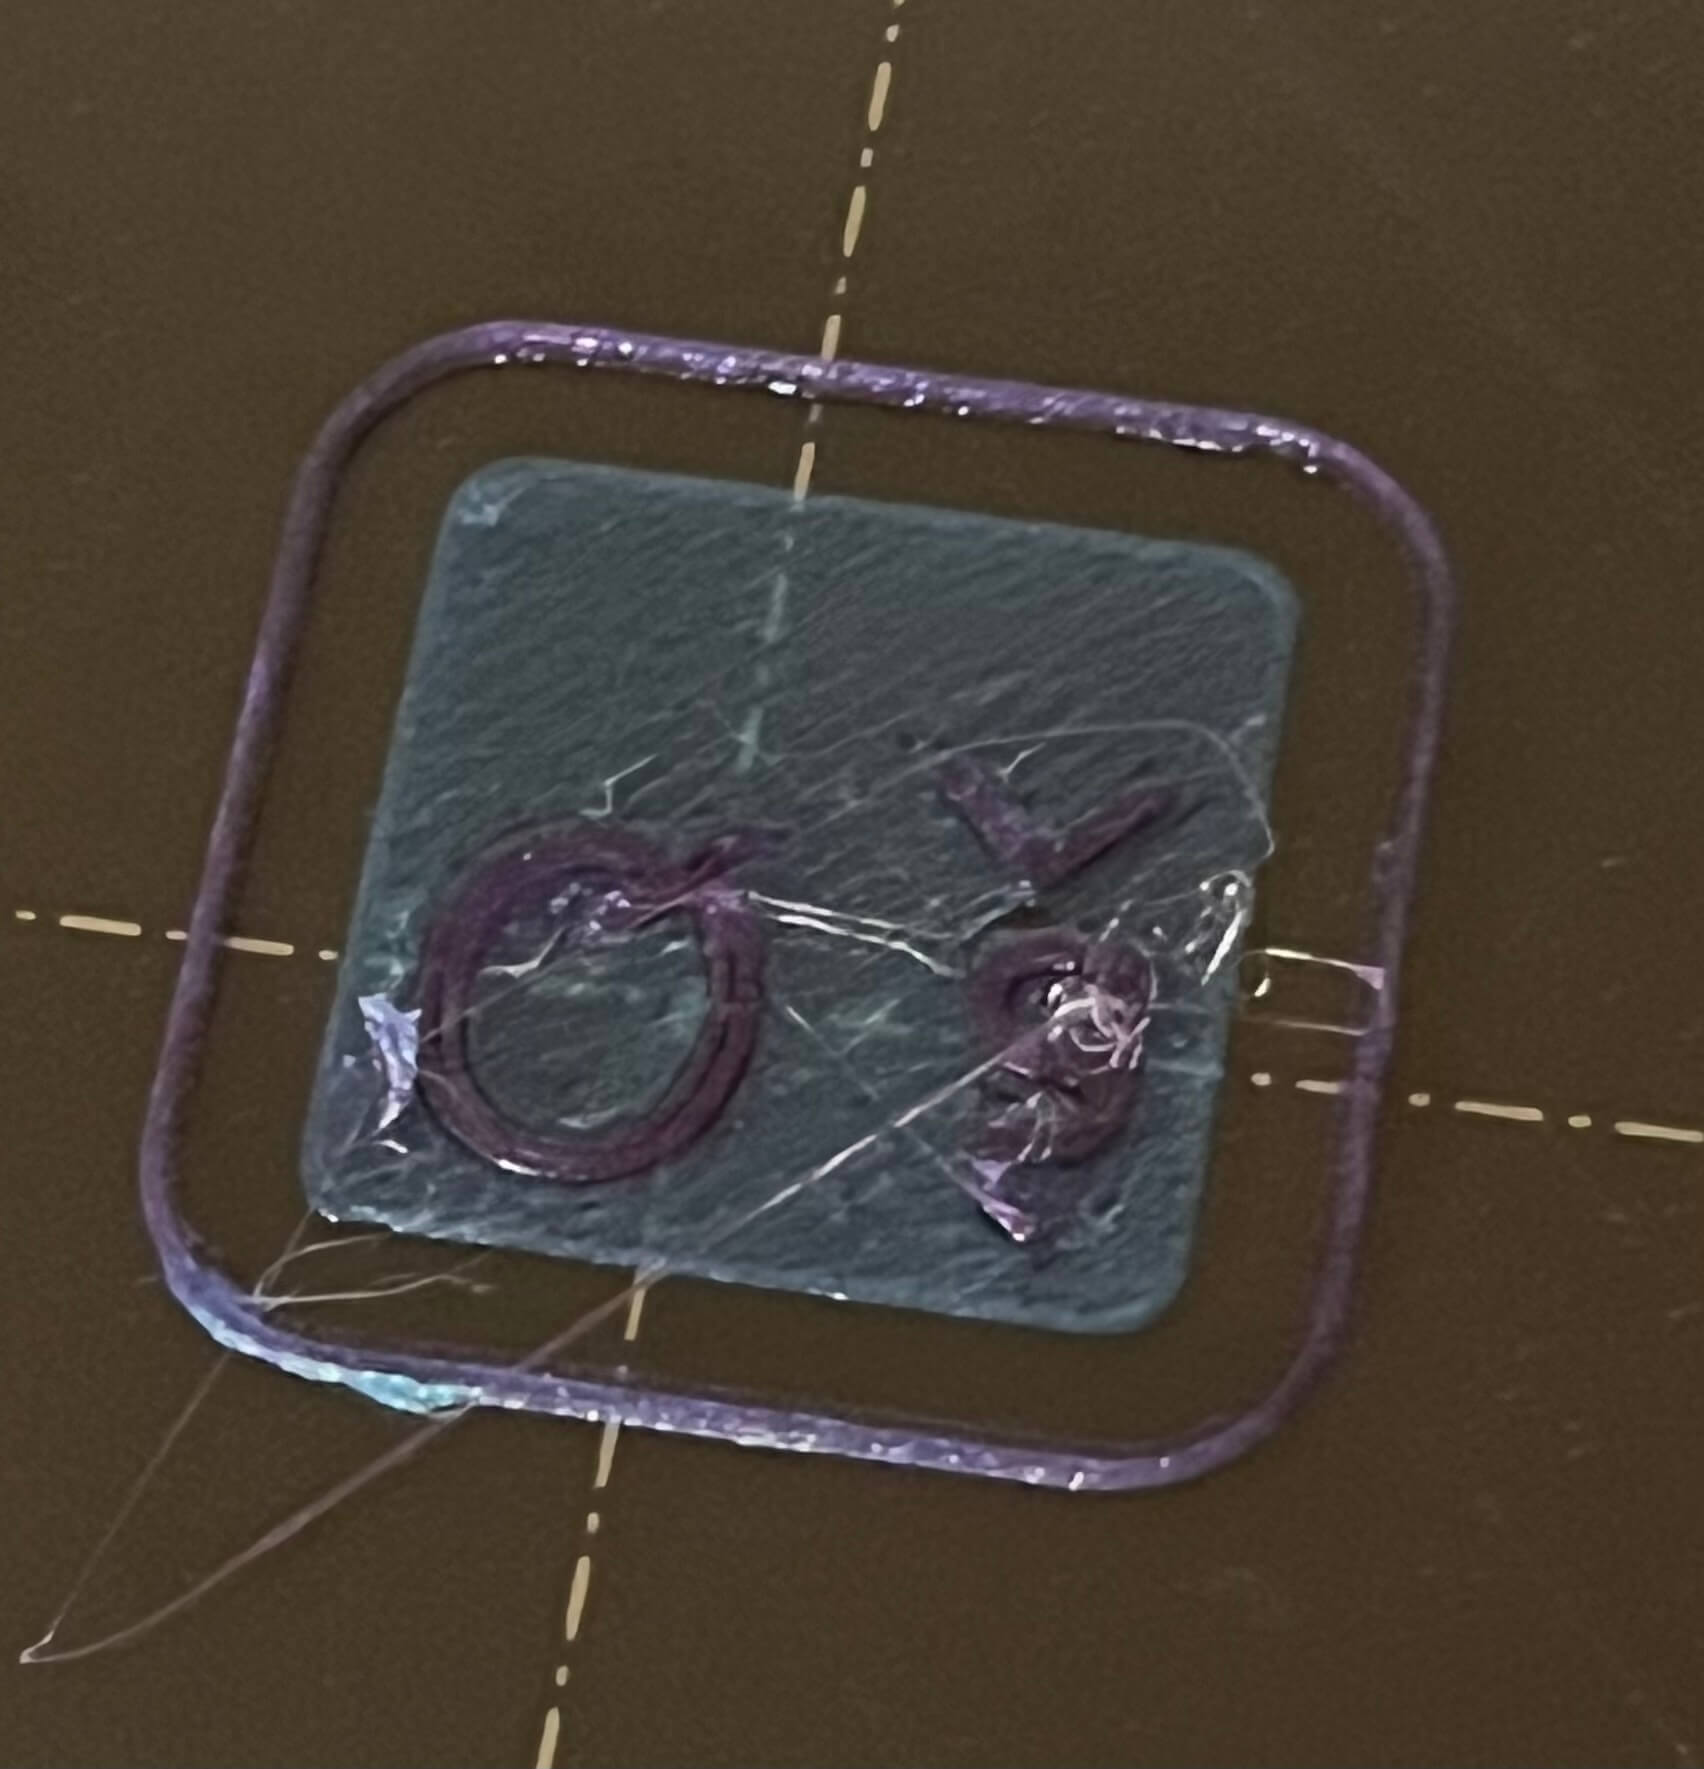
Just after the second color printing (two layers in a row, in fact):
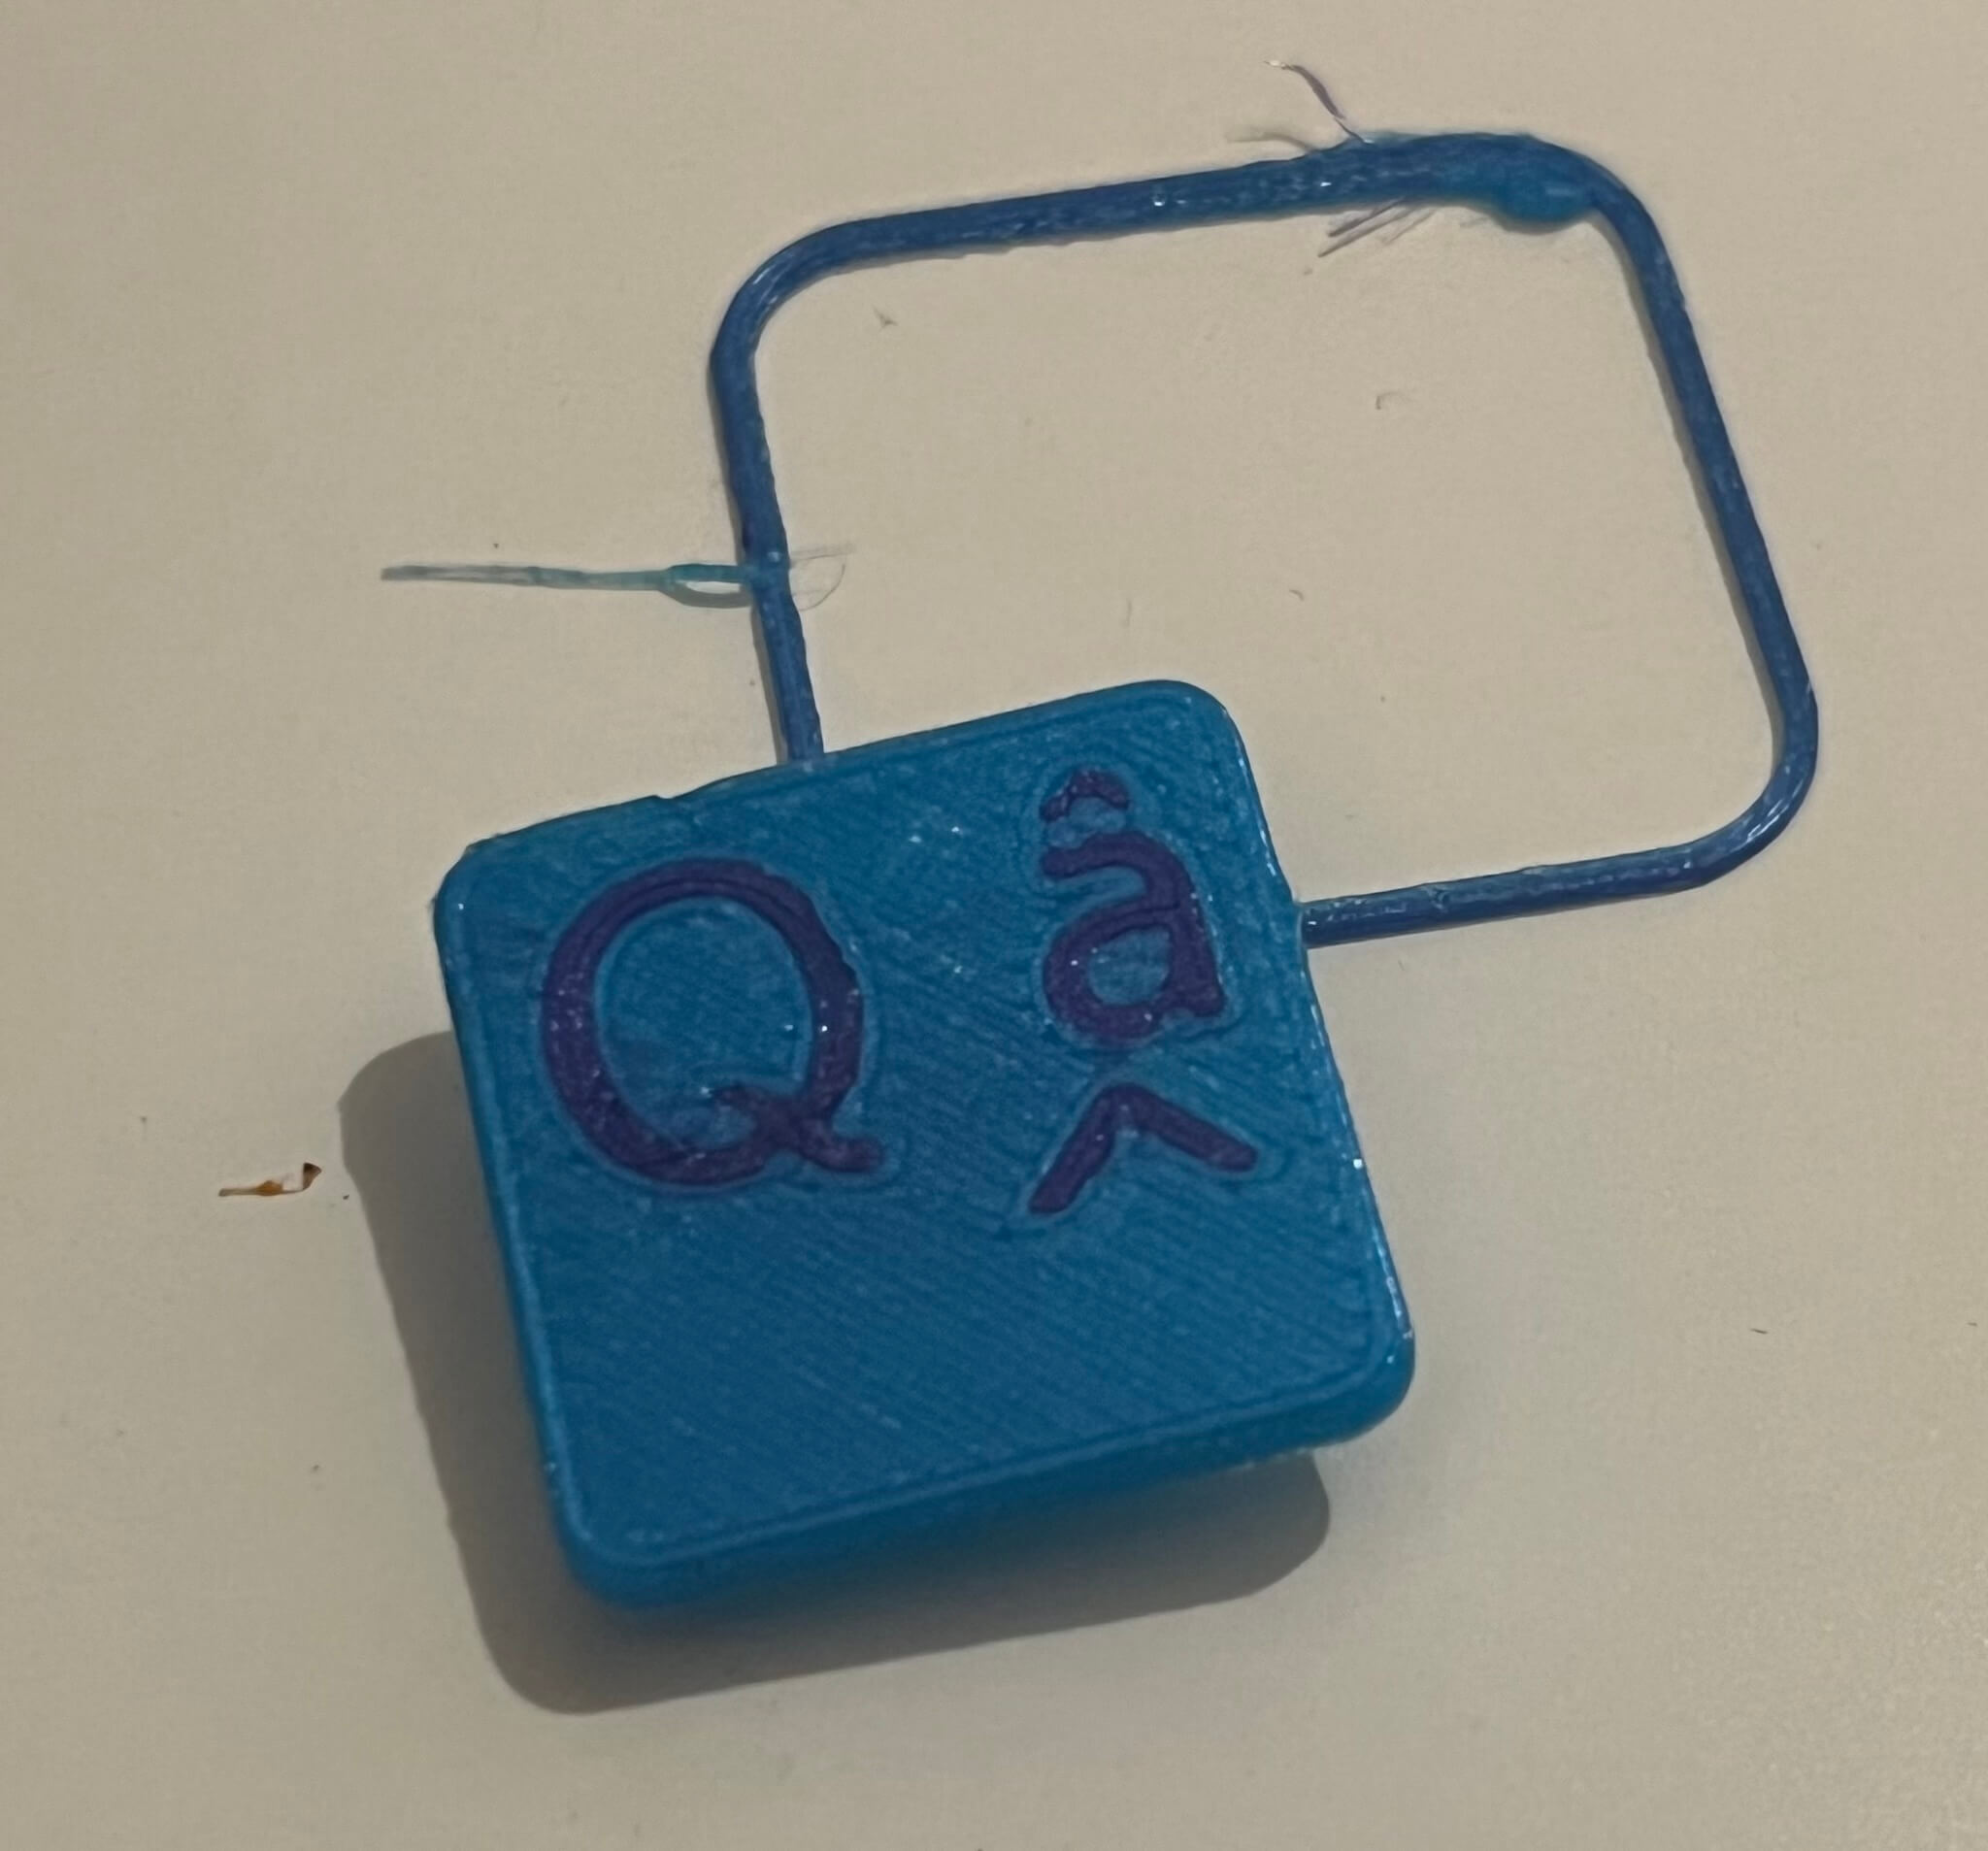
The finished print:

The final result:
Émy,
published the 13/08/2024